happy end of august! i had been wanting to share this soup with you for most of the summer. it's creamy, and splendidly sweet (like good summer corn always is), and then there's a bit of heat and poblano flavor in there, which i love. i'm not the biggest pepper fan, particularly bell peppers. i love them in a good romesco, or muhammara dip/sauce, and then there are chili peppers that i'm always a fan of. but i love how poblano peppers are somewhere between a bell pepper and a chili pepper - perfect amount of flavor and heat.
this technique in this soup is what summer is all about - minimal prep and big flavor. you start by charring the corn and poblano pepper (over your gas stovetop, broiler, or grill). from there, there's a quick saute of onion and garlic, with a little bit of ground cumin. everything is then combined in a blender - salt, pepper, and lime juice are added. then there's an overnight chill in the fridge. dare i say this is the perfect end-of-summer bowl, perhaps for your holiday weekend?
in any event, i hope your summer was full and bright. here's to september! xo!
a chilled summer soup: charred corn & poblano soup | gf & v
this is best served alongside a hearty piece of toasted bread (a gluten-free sourdough is my favorite), your favorite grilled veggie sides, grilled fish or another protein. possibilities are endless :)
print the recipe!
| makes 4 servings |
- 1 poblano pepper
- 4 ears corn
- 2 tablespoons avocado oil (or another heat tolerant oil)
- 1 good-sized onion, diced
- 1 garlic clove, roughly chopped
- 1 teaspoon ground cumin
- 3 cups vegetable broth, or water
- salt & pepper
- lime juice from 1 small lime
- cilantro for topping
method
- over a gas stovetop, under a broiler, or over a hot grill, char the pepper on all sides. place in a bowl covered with cling wrap, or in a sealed plastic bag. using your preferred method, char the cobs of corn until darkened in spots. let the corn cool, then cut the kernels from the cob. remove the pepper from the bowl or bag, and rub the skins off with your fingers. rinse under water, removing any skin that remained.
- cut the pepper away from the core and discard the ribs (reserve seeds if you like a little kick of heat).
- place a saute pan over medium heat. once hot, add the oil and onion. stir and cook until soft and transparent, about 5 minutes. add in the garlic and cumin; stir and cook for roughly 30 seconds, until garlic is fragrant. remove from heat and let cool.
- add the corn, pepper (and seeds if using), onion saute mixture, and broth (or water) to the container of an upright blender. blend on high, stopping to scrape down the sides as you go for about a minute. season with salt and pepper, and the juice from 1/2 lime. blend once more. taste and adjust, adding more salt and pepper, and/or lime juice.
- let the soup cool, then transfer to a sealed container or large jar and let cool completely, preferably overnight.
- divide the soup between 4 bowls and garnish with cilantro, more pepper, and a drizzle of olive oil.
similar recipes:

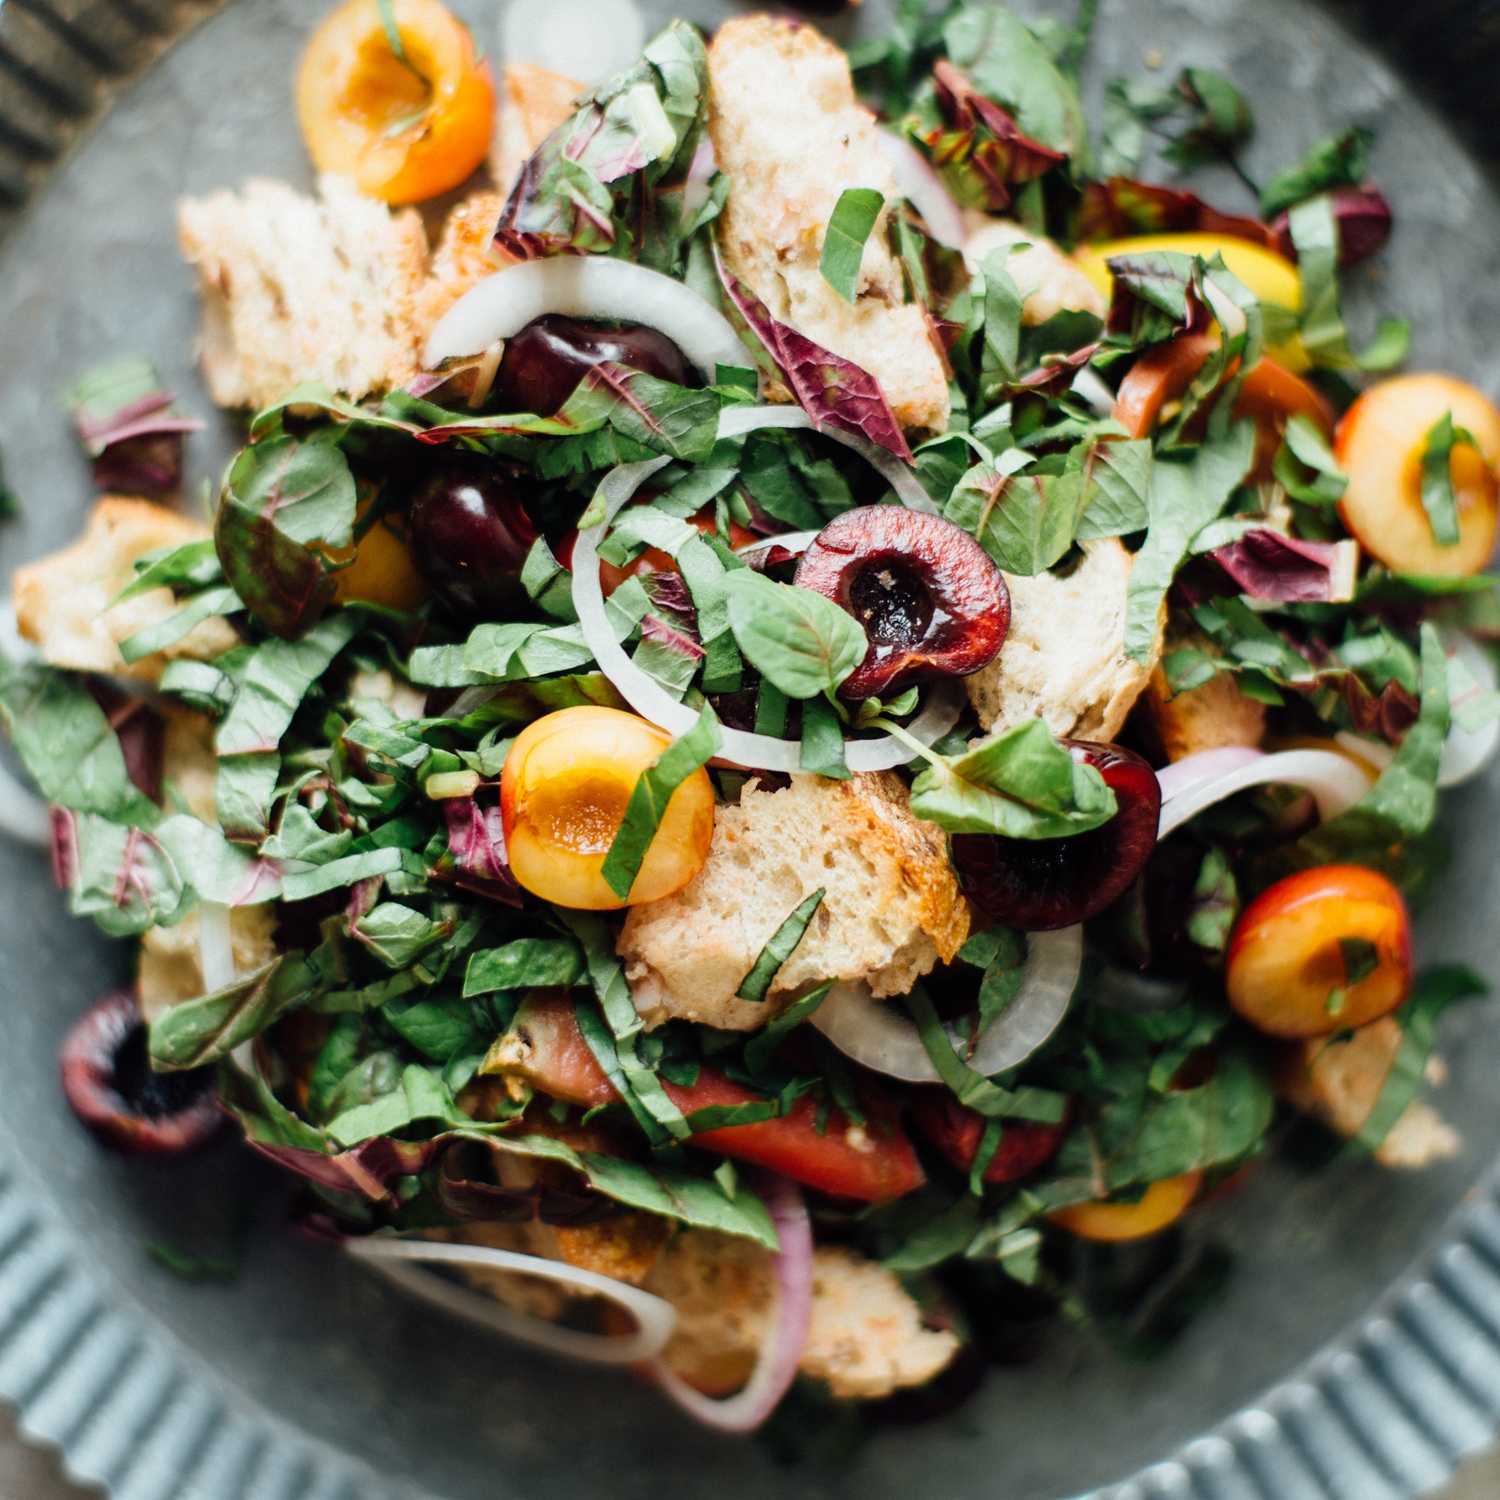
mellow melon salad
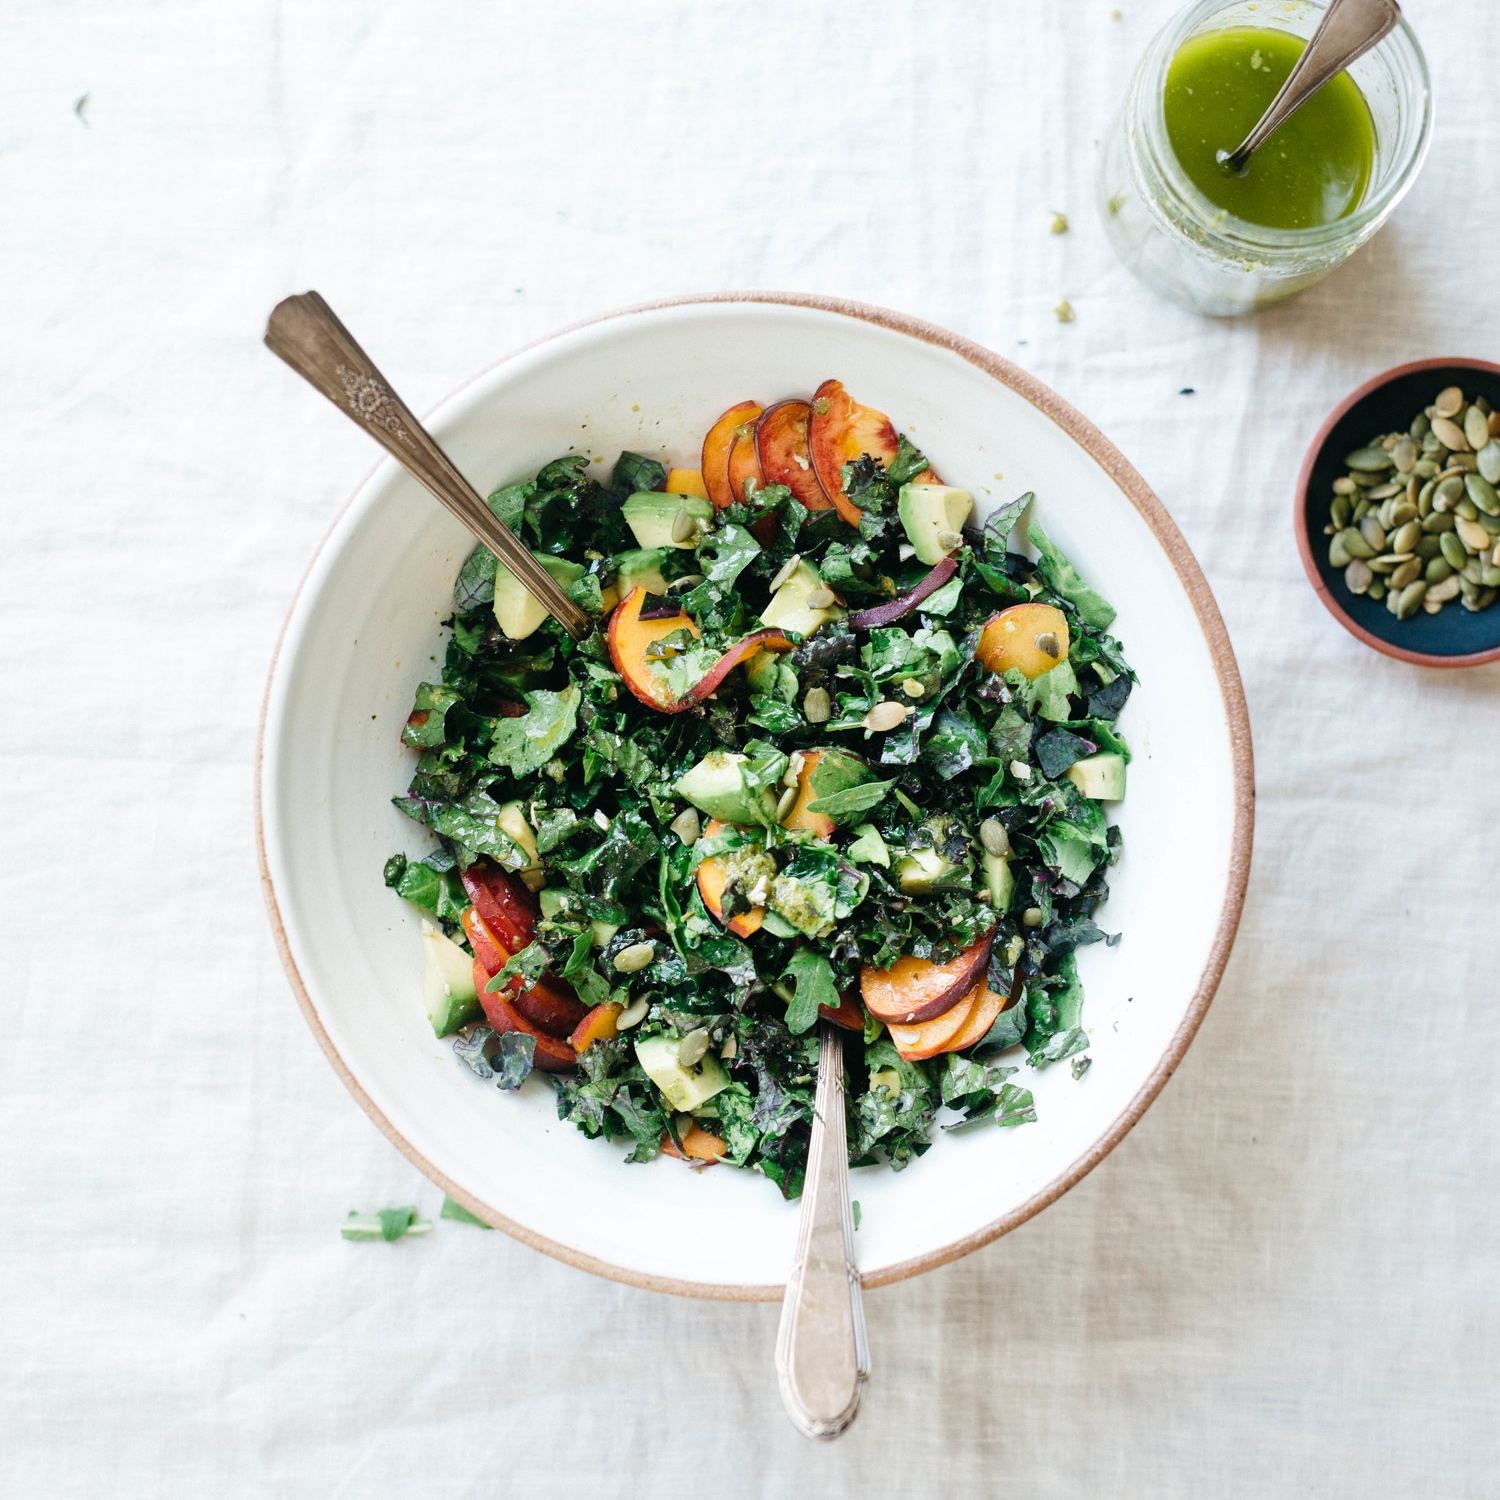
avocado, kale & arugula chop w/ roasted poblano & lime dressing

pickled corn succotash salad