Dark Cocoa Waffle Ice Cream Sandwiches by Lindsey | Dolly and Oatmeal


the mid-90s were for many things, mood rings, discmans, flannels tied around your waist, etc.,etc.  but they were also for waffles and ice cream!  i can't tell you how many birthday parties i attended that served them in lieu of cake, or for breakfast if it was a sleepover birthday.  i was never really a big fan of ice cream cones, so the idea of a soft, warm waffle topped with melty ice cream was my dream.  there were always toppings too: whipped cream, chocolate chips, hot fudge, nuts, etc.  but i remember sticking to a generic version with maybe some sprinkles.  

truth is, ice cream cones still are not my favorite vessel to eat ice cream out of.  i much prefer a bowl of ice cream, or it sandwiches between two cookies, or in this case - waffles!  yes, i'm bringing back my memories of waffles and ice cream, but i'm upgrading your waffle situation and offering you a dairy free ice cream instead - because there's an ice cream for that!

these waffles are my absolute favorite!  they have a deep dark chocolate flavor, not overly sweet; and soft, but crisp enough to cradle the ice cream perfectly.  and they're best served with this luscious dairy-free ice cream from Häaagen- Dazs.  I grew up on Häaagen- Dazs, my parents never bought any other brands, ever.  there were 2 flavors in our freezer at all times: chocolate-chocolate chip (for my dad and me), and vanilla swiss almond (for my mom and brother).  and i imagine that the world is a happier place now that that they have a dairy-free line of ice creams including: coconut caramel, peanut butter chocolate fudge, and the one i'm using here: chocolate salted fudge truffle.  this is the kind of ice cream i love to indulge in once in a while, it's rich, and velvety, just like traditional ice cream.  and these sandwiches are the perfect treat to close out the summer with.  i like making them ahead of time and freezing them for optimal coldness on these hot august days.  i also love that they're portable - take them to picnic (and eat within a reasonable amount of time), a sweet snack for your kids, a late-night treat for your ice cream loving husband ;) . these delicious sandwiches know no bounds!  and to save $2 when you buy 3 Häagen-Dazs or other participating Nestlé ice cream brands, click here for a coupon :)

happy last few weeks of summer, friends! xo!

this post was created in partnership with Häaagen- Dazs..  all opinions as always are my own.  thank you for supporting the sponsors that help keep dolly and oatmeal going!


Dark cocoa waffle ice cream sandwiches | gf & df

  • i like making the waffles ahead of time, keeping them in the fridge or freezer, and having them on-hand when we're need of a little summer treat. 
  • you could also assemble the sandwiches ahead of time and freeze them (as directed in the instructions below) for up to 1 week.

PRINT THE RECIPE!

| makes roughly 8 large waffles and 14-16 sandwiches |

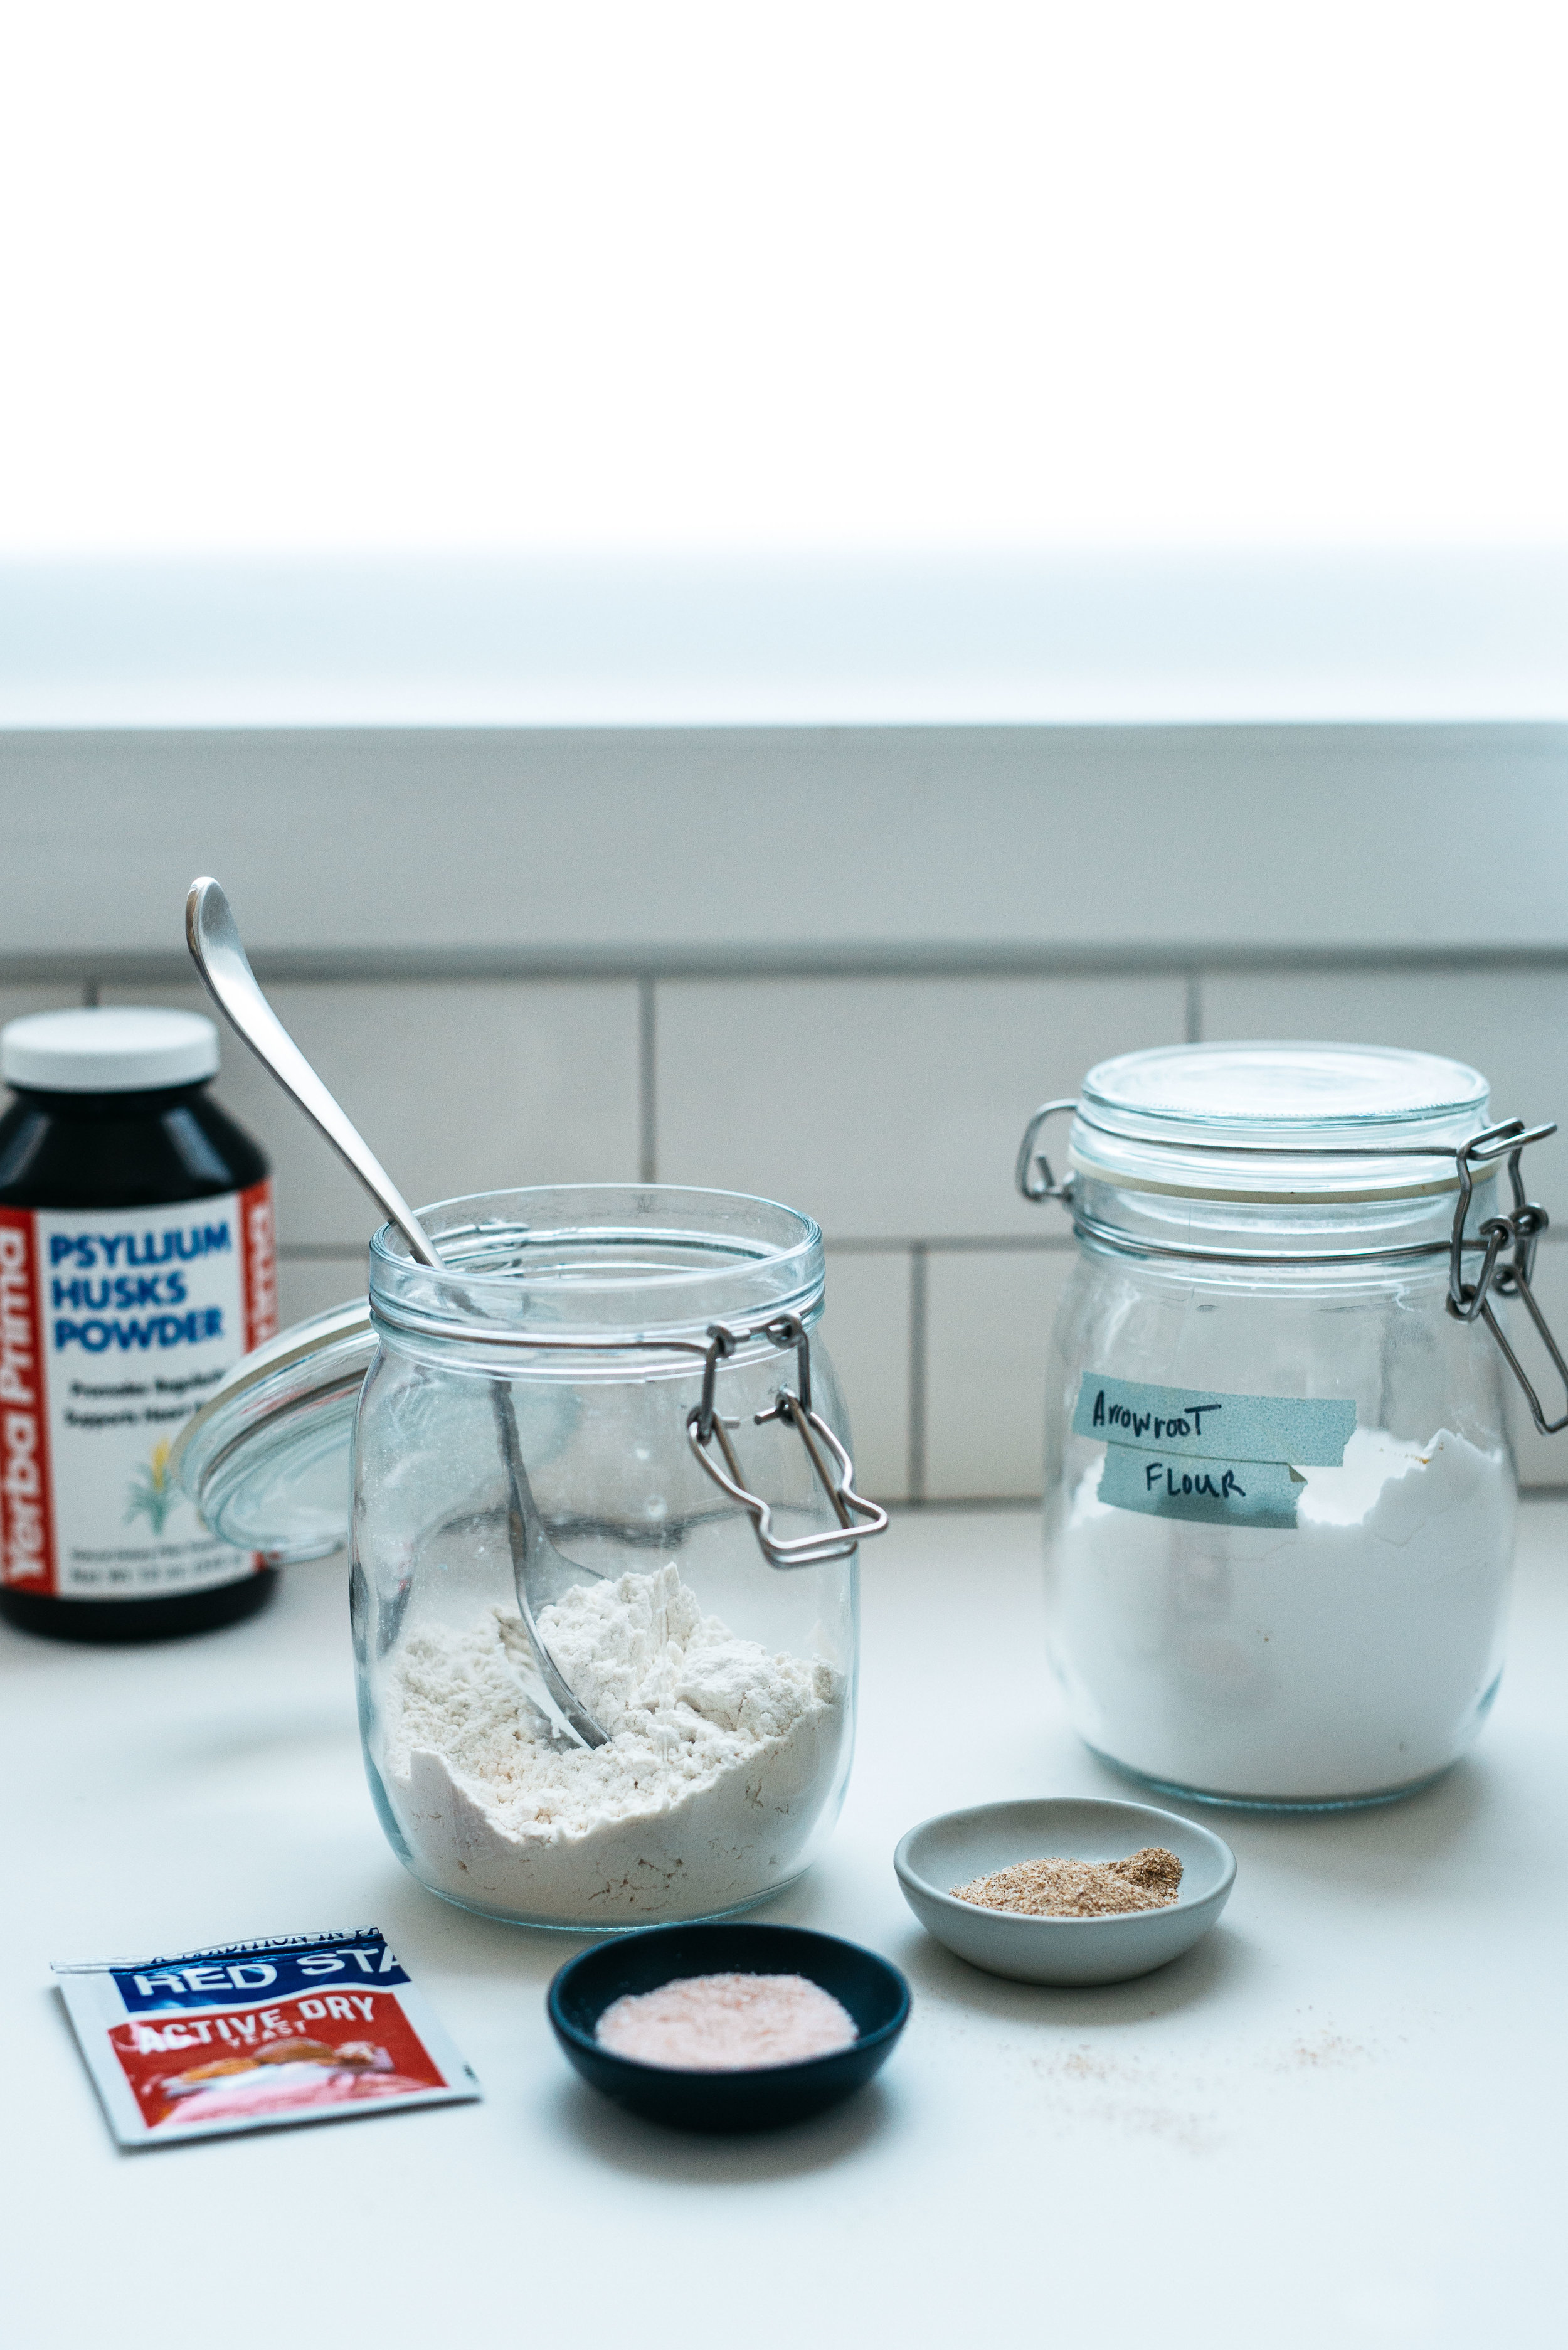
  • 1 cup fine brown rice flour
  • 1/2 cup raw cacao powder (or cocoa powder)
  • 1/4 cup + 1 tablespoon coconut sugar
  • 1 teaspoon baking soda
  • 1/2 teaspoon salt
  • 1 cup unsweetened almond milk, at room temperature
  • 2 pasture raised eggs, at room temperature
  • 1/4 cup melted unrefined coconut oil, plus more for waffle iron
  • 1 teaspoon pure vanilla extract
  • two 14-ounce containers Häaagen- Dazs.Chocolate Salted Fudge Truffle Non-Dairy ice cream


method

  1. preheat your waffle iron.
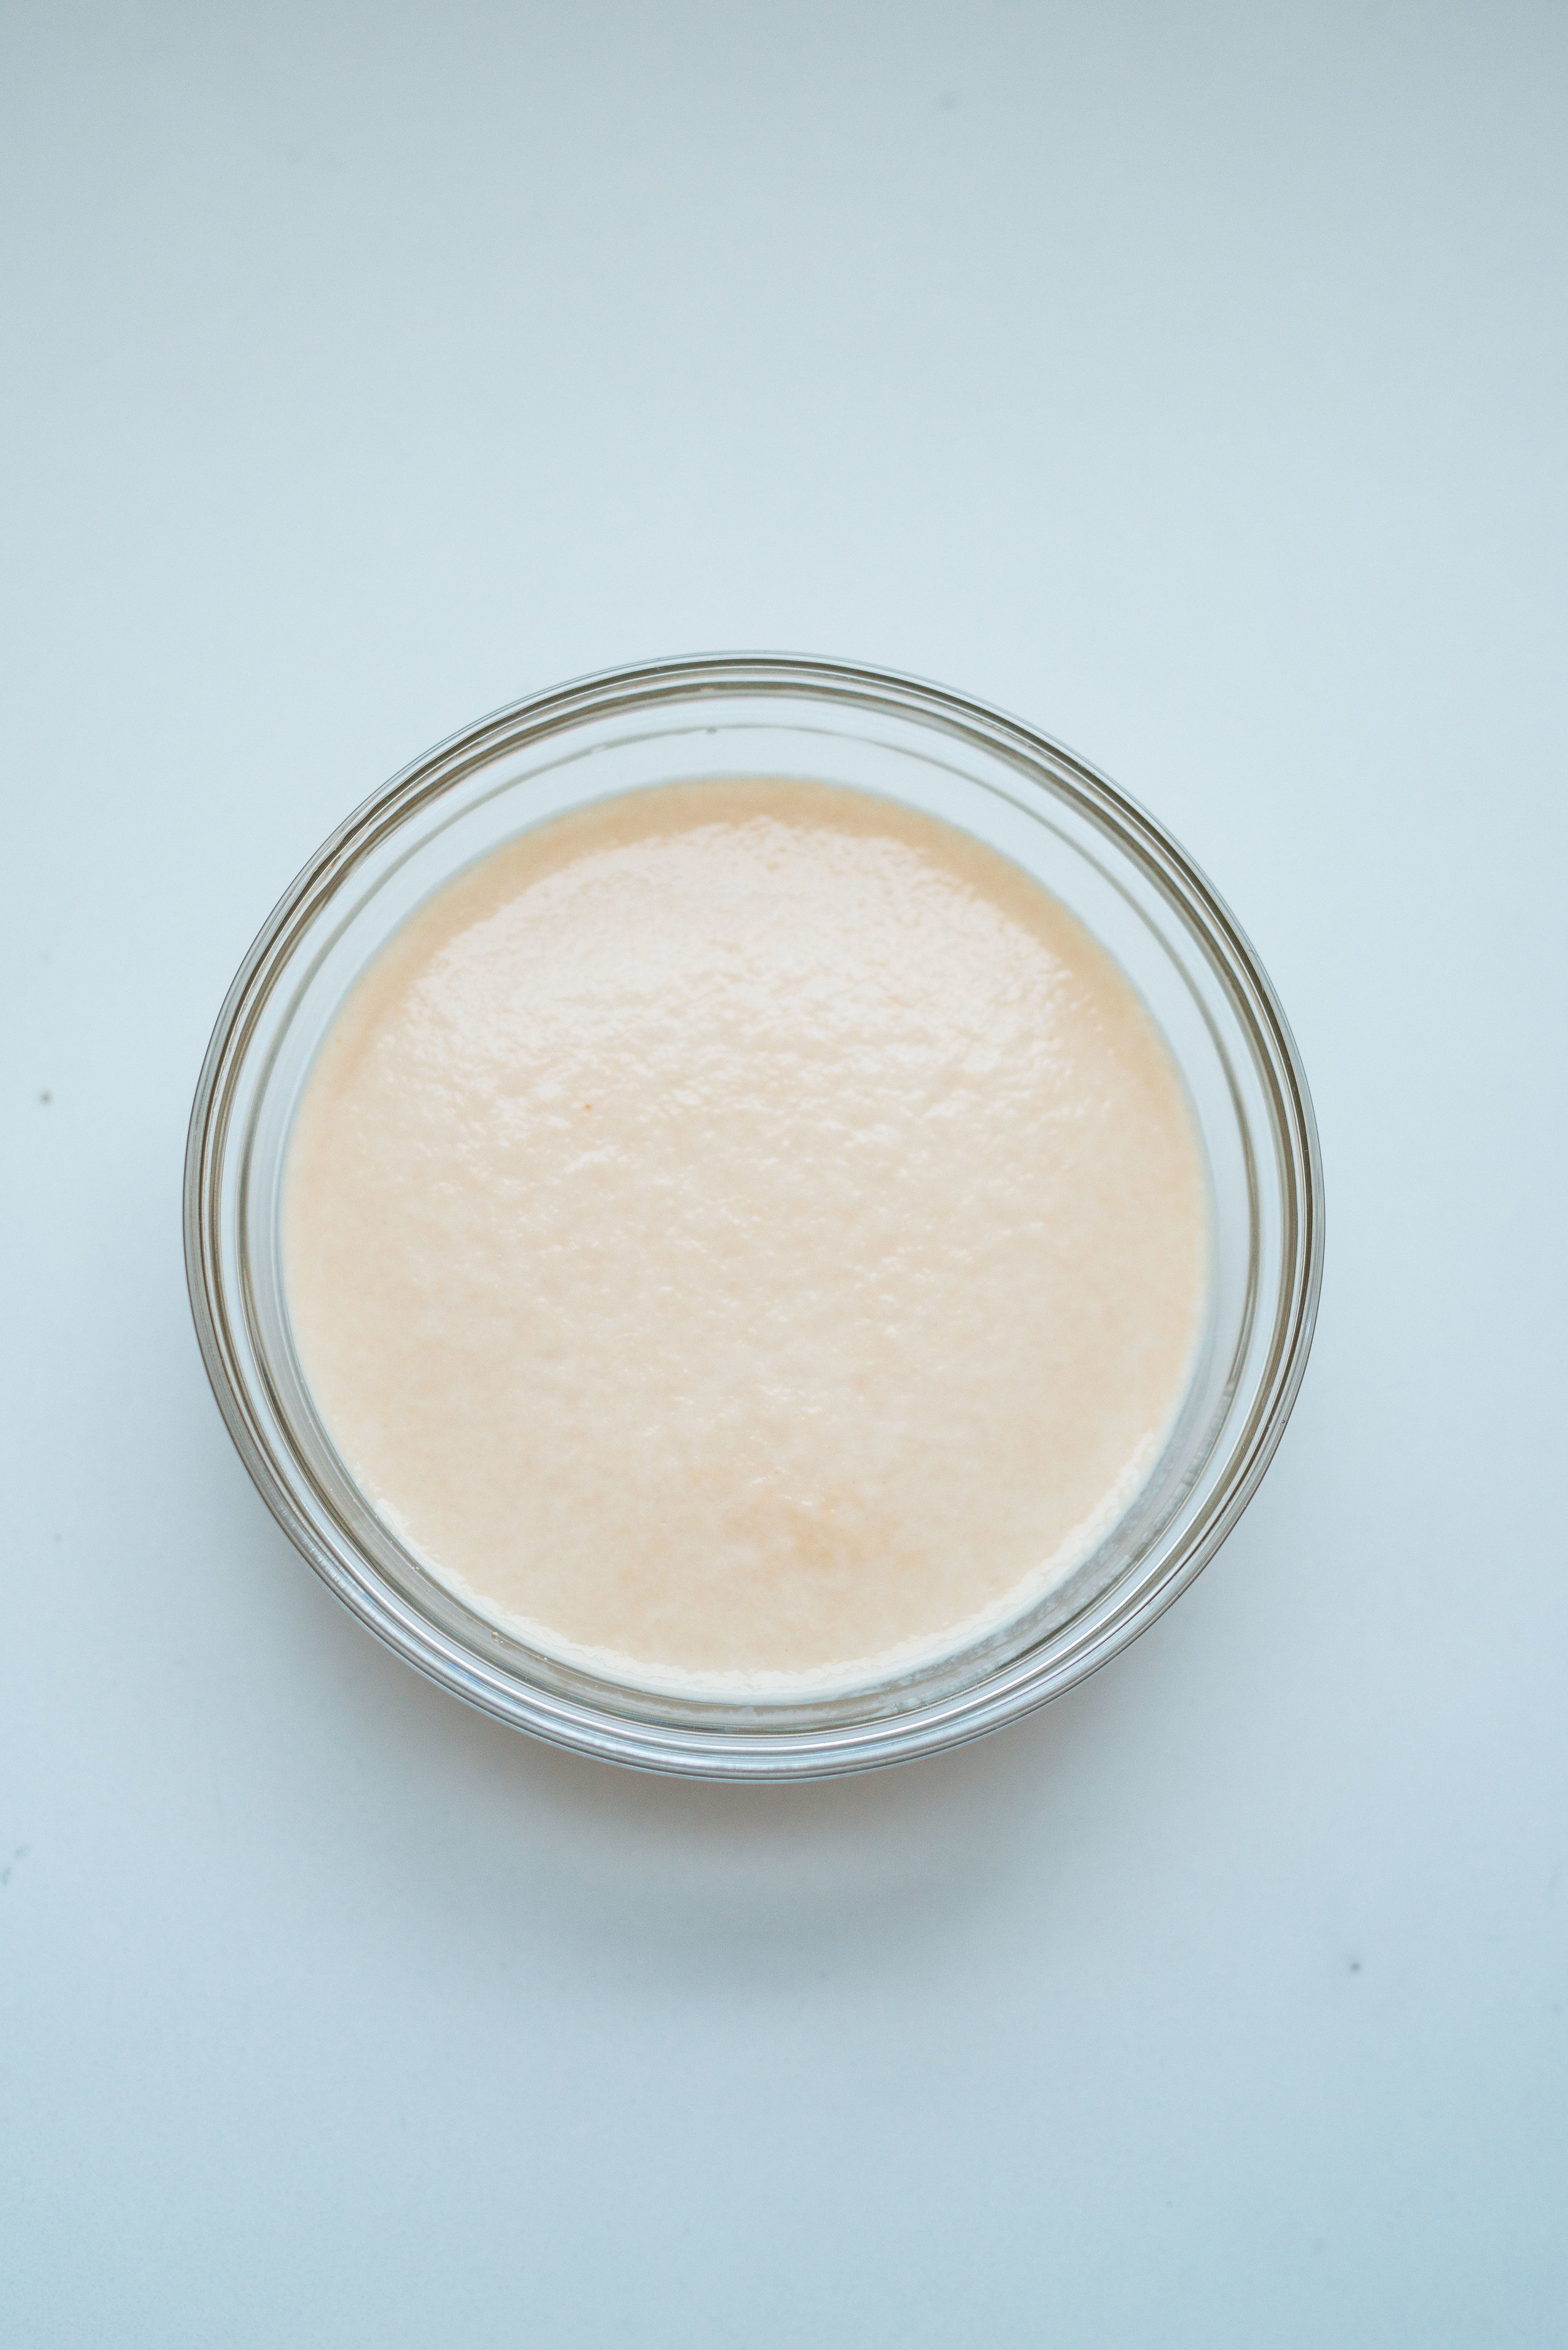
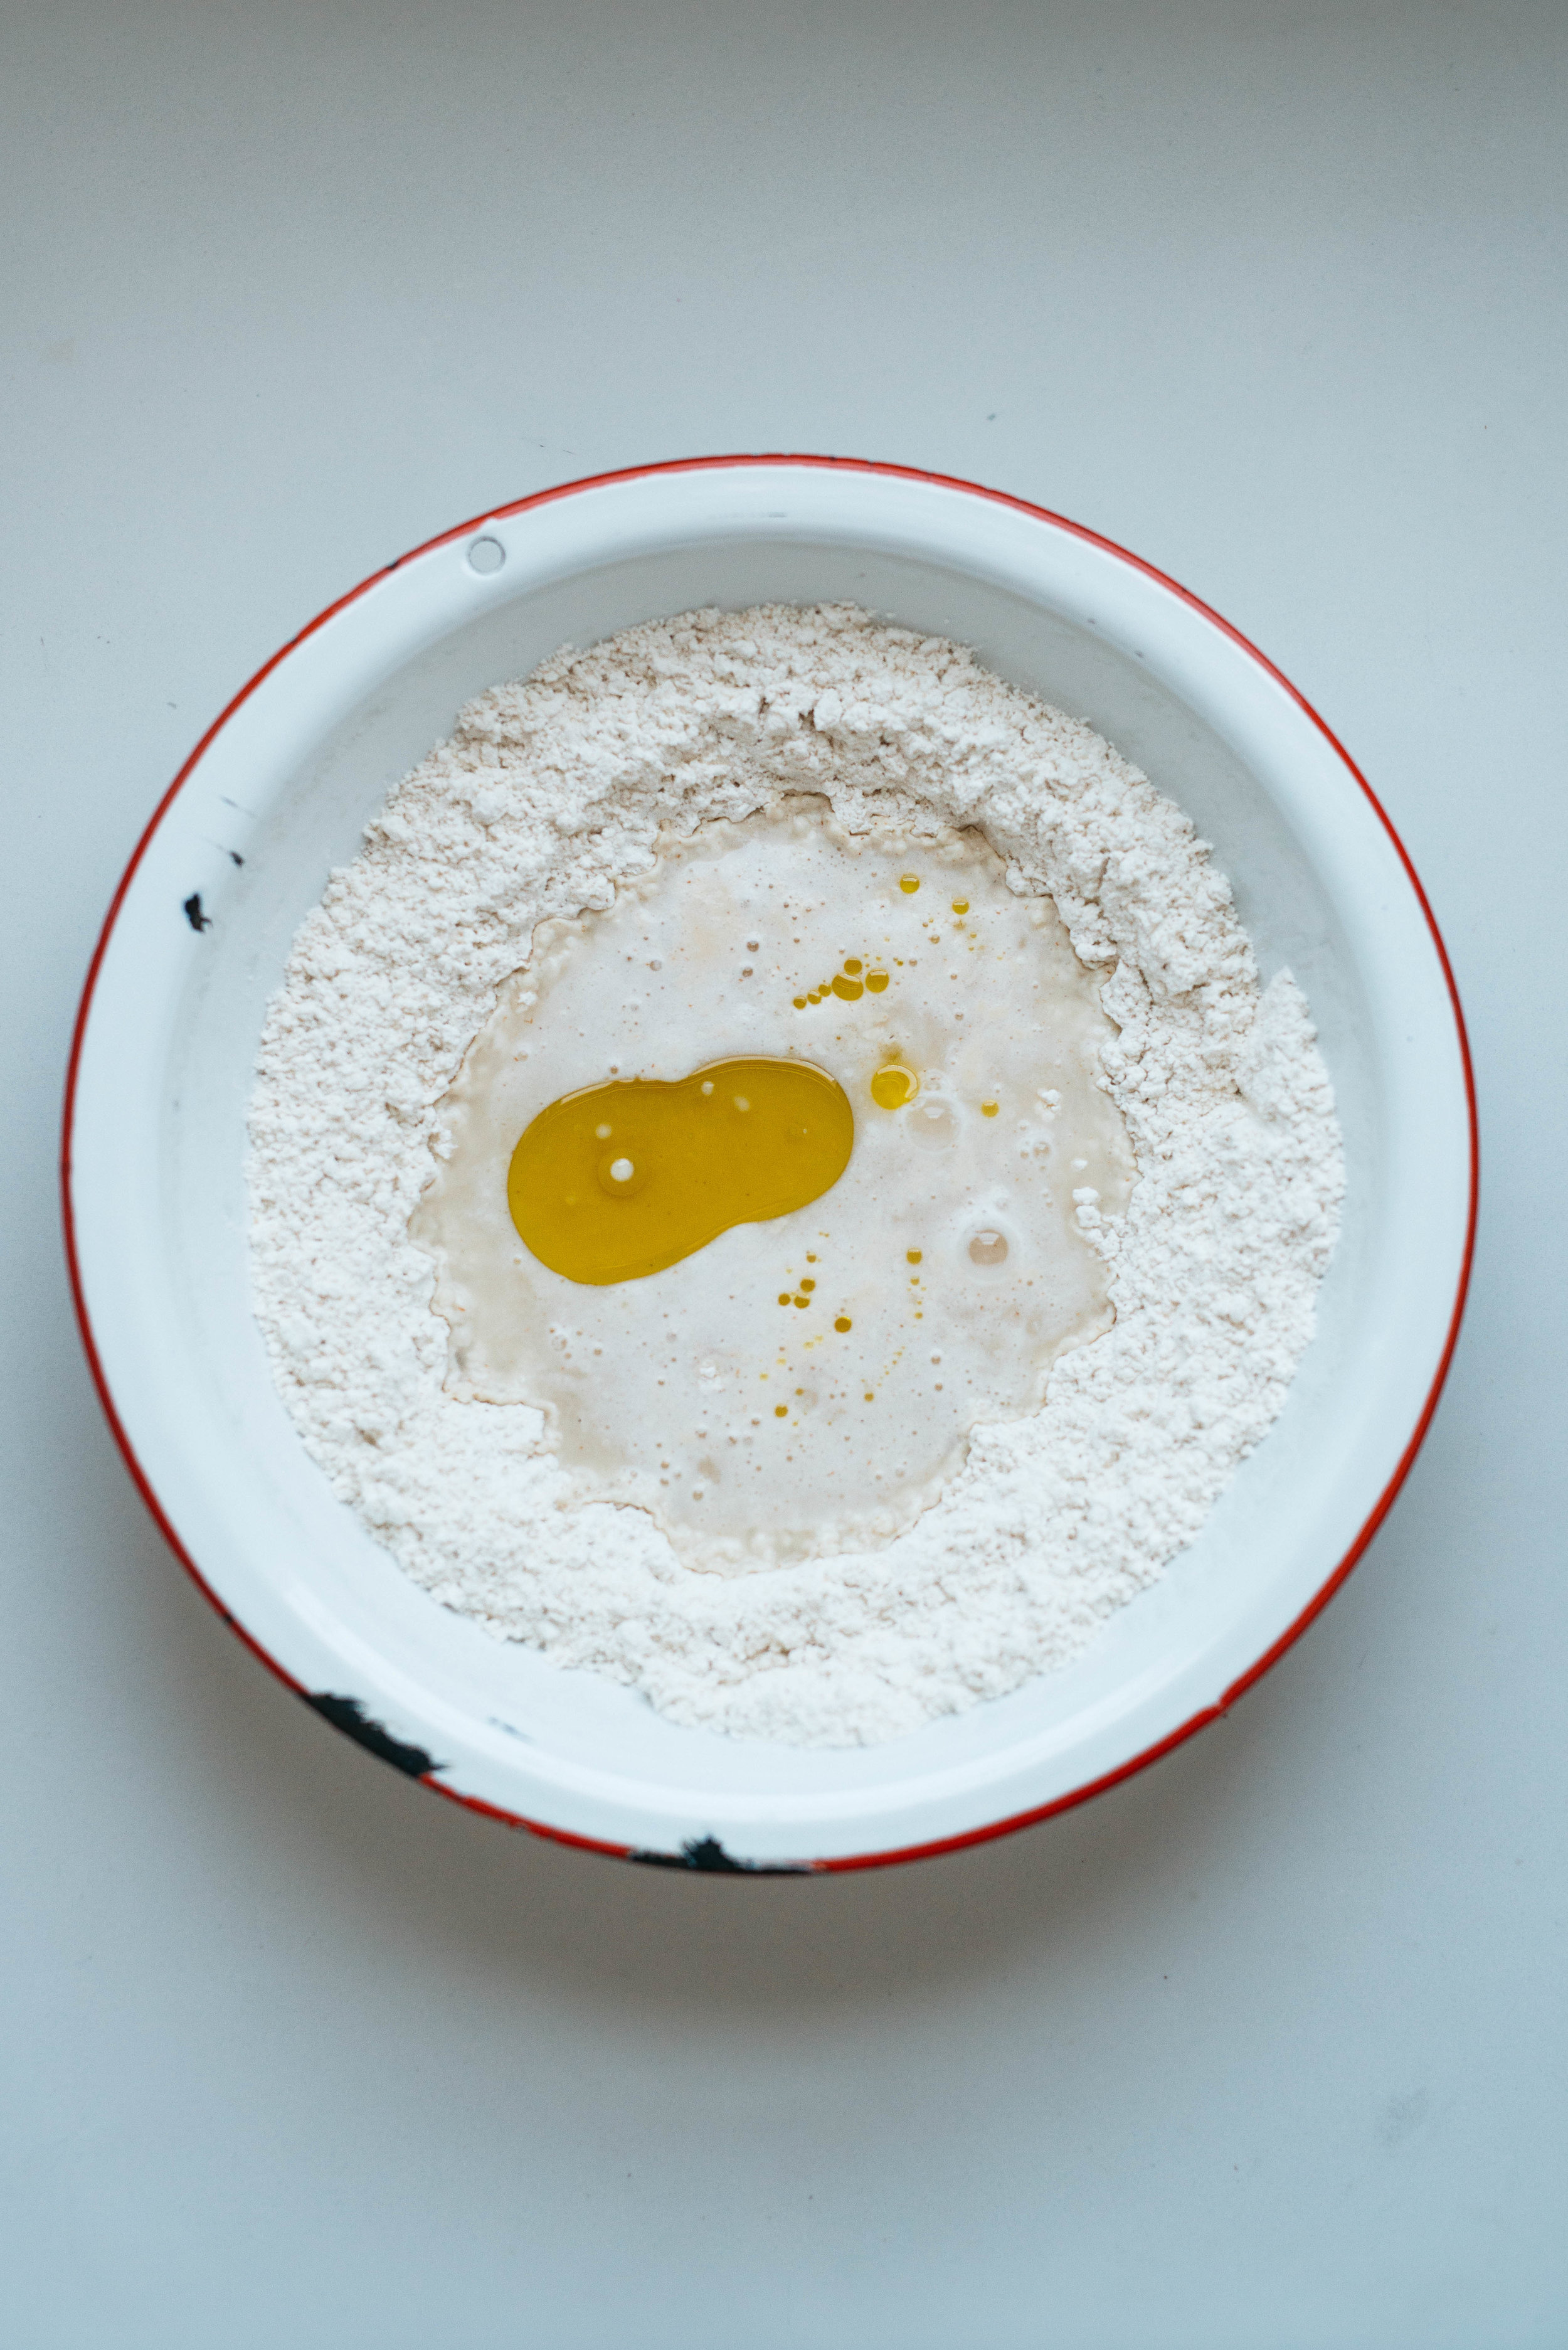
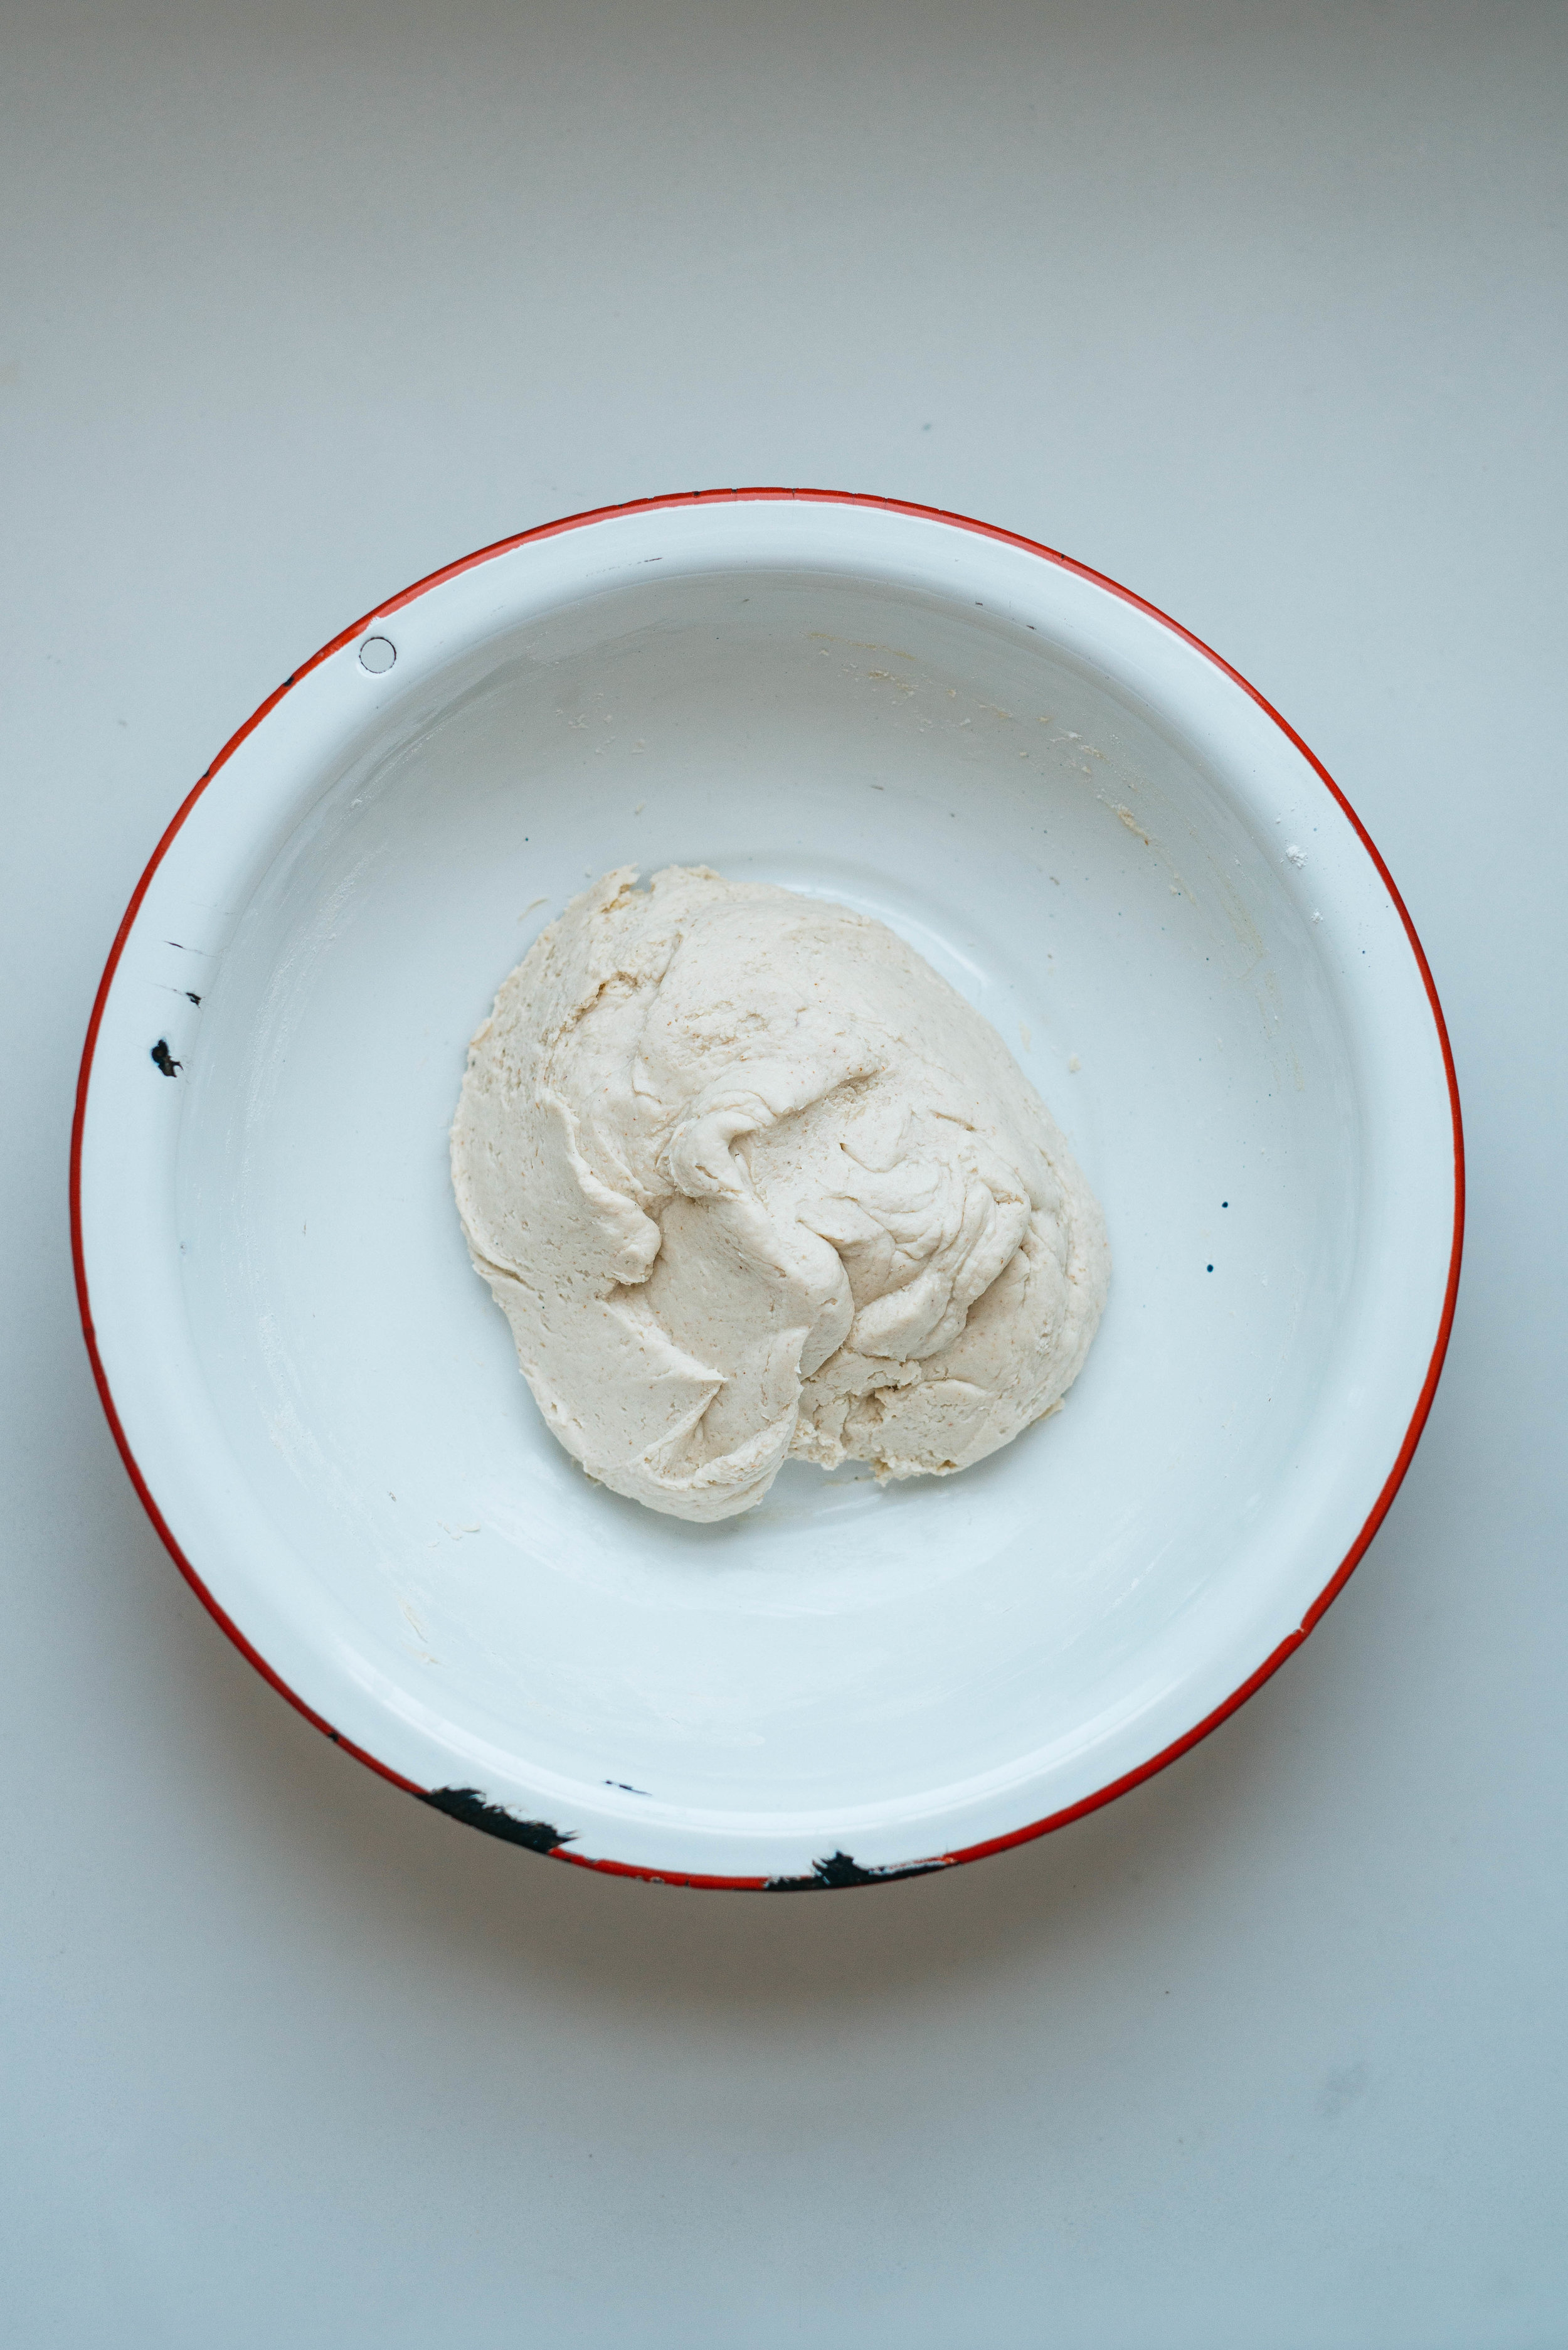
  2. in a large mixing bowl, whisk together the flour, cacao powder (or cocoa powder), sugar, baking soda, and salt, breaking up any clumps.  in a separate bowl, whisk together the almond milk, eggs, oil, and vanilla until combined.  whisk the wet ingredients into the dry until combined (batter will be a little lumpy, that's ok!)
  3. brush your iron lightly with some coconut oil.  pour a heaping 1/4 cup of batter into the center.  use the back of the measuring cup to spread the batter out a bit, covering most of the waffle iron.  cook according to the manufacturers instructions until slightly crisp.  remove the waffle and let it cool, repeat with the remaining batter.
  4. to assemble.  remove the ice cream from your freezer, and let it sit out for about 10 minutes to soften a bit (this depends on how warm your kitchen is).  cut the waffles into fourths and lay them out on a clean work surface.
  5. take one waffle piece and scoop 2-3 portions of ice cream on it, top with the other half of waffle to make a sandwich.  repeat with remaining waffles and ice cream.
  6. eat immediately, or store in an air tight container, lined with parchment paper (this prevents them from sticking to the container) in your freezer for up to 1 week. 

similar recipes:


vegan frozen salted s'mores sandwiches

vegan frozen salted s'mores sandwiches

raw & vegan coconut-cashew milkshakes

raw & vegan coconut-cashew milkshakes

ice cream & almond butter cupcakes

ice cream & almond butter cupcakes

The Best Gluten-Free Pizza Dough Recipe! (With only 4 main ingredients) by Lindsey | Dolly and Oatmeal


please excuse the slightly hyperbolic title, but this pizza dough is really good.  and therefore, essential! i've been working on a pared down version for most of the summer, one with fewer, and easy-to-source ingredients.  i grew up eating really good traditional pizza - new york was good for that.  almost every sunday as a kid my dad would bust out his pizza peel and stone, whip up a batch of his mother's tomato sauce, and make 2 pizza pies for dinner.  the sauce was chunky and slightly sweet, and the cheese was a mix of mozzarella and muenster cheese (he maintained that mozzarella would burn too quickly, and the muenster prevented that from happening).  and when i was a little older, and my dad worked in downtown brooklyn, he would pick up a couple of pizza pies from grimaldi's that we would literally inhale as soon as he got home.  suffice to say, i love pizza.

so it's a total bummer (most of the time) when i order a gluten-free pizza from a restaurant.  they're never made in-house, always super gummy - it just seems like there's no heart and soul that goes into making one of those pies. so unless we're out and about, i usually make my own dough.  i developed one for my cookbook a couple years back that uses chickpea flour along with a few other whole grain flours.  and while i've gotten great feedback about it, there's always one constant hiccup for people: the amount of ingredients.  and i totally get it.  if you don't already have a stacked pantry, why buy 4 bags of flours just for pizza dough.  PROBLEM SOLVED, because this dough uses about 4 core ingredients, and that's it!

let's break it all down a bit:

  • i call for fine brown rice flour (i use this brand), because that's what i prefer. if all you have is regular brown rice flour that will work as well. why fine brown rice flour? simply because it has a finer grain, and therefore is a bit more smooth.

  • arrowroot powder/flour. many gluten-free recipes call for potato or tapioca starch, however, i prefer not to use them because they're not as easily digested as arrowroot is.

  • psyllium husk powder. i know, if you've never heard of it, it sounds a bit foreign, but we use it to bind the dough. it is similar to xantham gum in that way, but is more friendly to your digestive tract, and is actually good for you. you can find it at whole foods, in health food stores, and online. this is the one i use, but bigger brands like bob's red mill is now producing it.

  • i use instant yeast packets for this dough, mixed with water, and a teeny bit of sugar to activate it. then there's some olive oil added as well, and that's it! easy-peasy :) as for toppings, i generally stay pretty traditional.

for the red pizza:

  • tomato, shallot, and garlic confit (from this book and this book)

  • for cheese i'm either using this vegan mozzarella or this buffalo burrata

  • homemade spinach-basil pesto with pine nuts

  • extra basil for topping

for the green pizza:

ok, so there it is! everything you need to get started on your gluten-free pizza-making journey!  i sincerely hope you love this recipe! 

big hugs! 


The Best Gluten-Free Pizza Dough Recipe | v

PRINT THE RECIPE!

for all recipe notes, see above

| makes 2 large pizza doughs - roughly 8 slices each |

  • 1 1/2 cups water, warmed to 110°-115°F

  • 1 teaspoon cane sugar

  • 1 packet instant yeast (roughly 2 1/4 teaspoons)

  • 2 cups fine brown rice flour, plus more for sprinkling

  • 1 cup arrowroot flour/powder

  • 1 tablespoon pysillium husk powder

  • 1 1/2 teaspoons salt

  • 3 tablespoons extra virgin olive oil


method

prepare the dough

  1. preheat your oven to its lowest temperature. as soon as it's preheated turn it off.

  2. in a wide, shallow bowl, stir the warmed water with the sugar until it dissolves. sprinkle the yeast over top, let it sit and bloom. yeast should activate and puff up after a few minutes (if does not, start the process over). whisk in the psyllium husk powder. whisk every minute or so, until the mixture is a bit gel-like.

  3. prepare the dry ingredients. in a large mixing bowl, whisk together the brown rice flour, arrowroot, and salt. make a well in the center of the flour mixture, and add the proofed yeast mixture. use a rubber spatula to mix until a dough forms. dust your counter with flour, and turn dough out onto it. knead the dough until smooth and springy, about 2-3 minutes. grease a large bowl with olive oil. place dough inside and flip it over to get it coated in the oil. cover the bowl with a clean dish towel. at this point your oven should be warm, if it feels too hot, vent it a bit, opening the oven door for a few minutes. place the covered dough in the warm oven for 1-2 hours, until it has puffed up and nearly doubled in size.

  4. portion the dough into 2 even pieces (if not using both, wrap one in plastic wrap and store in your fridge or freezer).

  5. shape the dough. cut a large piece of parchment paper and place it on your countertop. place the dough in the center, and sprinkle with some brown rice flour. starting from the center, use your fingertips to spread the dough out into a large 10-11-inch circle or oval, about 1/4-inch thick (the edges may crack a bit, and that's ok, just pinch the dough back together). use your dishtowel, and place it on top of the dough, letting it rise again, for roughly 30 minutes.

cook your pizza!

  1. trim the parchment paper below your pizza dough, and discard. (if there's too much overhang it can quickly burn, we just need enough for the dough to sit on.)

  2. place a pizza stone in the bottom third of your oven (if you don't own a pizza stone, turn a baking sheet upside down and place in the bottom third of your oven). preheat the oven and stone to 500°F.

  3. while your oven is preheating, prepare your toppings (see toppings notes above).

  4. once your oven is preheated, par-bake your dough. use a pizza peel (or cookie sheet) to carefully slide your pizza dough (along with the' parchment it’s sitting on) onto the pizza stone. cook for 7-9 minutes, until lightly browned and puffy.

  5. remove from the oven, and top with your toppings. place back in the oven until toppings are cooked through, and bubbling. remove from the oven and let cool for a minute or 2, then slice into 8 pieces.

*refrigerated and frozen dough:  let refrigerated or frozen dough come to room temperature before shaping and cooking.  then continue on to step 5 of "preparing your dough" above.


similar recipes:


grilled summer pizza w/ garden pesto & caramelized balsamic shallots

grilled summer pizza w/ garden pesto & caramelized balsamic shallots

mid-summer cherry & amaranth panzanella salad

mid-summer cherry & amaranth panzanella salad

summer socca salad w/ burst tomatoes & roasted zucchini

summer socca salad w/ burst tomatoes & roasted zucchini

Double Chocolate Caramel Cake & 5 Years by Lindsey | Dolly and Oatmeal


frank and i celebrate 5 years of marriage tomorrow.  it was one of the best days of my life, a day filled with such an overwhelming amount cheer and enthusiasm from so many people that it's hard to describe with just mere words.  

since i was a little girl, i thought i would get married where i summered every year on martha's vineyard.  i had the venue picked out and everything!  we would get married on the patio of beach plum inn, while overlooking menemsha bight at sunset.  there would be twinkling lights, and great food, and dancing, and all around awesome time. clearly little me wasn't thinking about grownup things like cost and logistics.  so when frank and i started wedding planning a wedding on martha's vineyard was quickly crossed off. so we switched gears to something a bit more local, and affordable.  a quick google search of "farms by the ocean", turned up with some interesting, but very limited options.  luckily, we found salt air farm, which by the name alone had me super interested.  it happened to be located on long island, where i grew up when i was little, and everything quickly fell into place, and felt so right.

our wedding was very much a family affair, which makes the memory that much sweeter.  my mom, a close family friend/planner/caterer, and i planned every last detail.  our dj was another long-time friend, as was our amazing photographer.  i designed the invitations, seating cards, table numbers, etc.! and salt air farm also happened to be a fruit and flower farm, so all the centerpieces came right from the fields that the entrance of the farm welcomed each guest with.  there was so much heart and soul that went into our wedding, but we also never felt more appreciative of the outpouring of love than on that day.    

but the best part was marrying frank.  never have i known anyone like him.  he is simply the sweetest, kindest, most patient man i will ever know. i am forever grateful to whatever cosmic powers that led to us meeting.  

ok, let's talk cake before i start crying even more than i already am.  our wedding cake was 3-tiers, and aside from being yummy and gluten-and-dairy-free, i didn't really care too much about it.  we went to babycakes in nyc, and tasted a few of their flavors, and i'm pretty sure we just settled on a basic chocolate and vanilla  duo, with a traditional vanilla frosting.  the cake here has two really luscious chocolate-y layers, a chocolate fudge frosting, and it's topped off with an almond butter-based caramel sauce.  i decorated it with the same blush-y shade of flowers that was in my wedding bouquet, as well as in the centerpieces on each table - a subtle, little reminder of that day.  the recipe comes from one of my favorite cookbooks from this past spring, sweet laurel.  the book is full of thoughtful gluten-and-dairy-free recipes.  from morning treats, to breads, and nut-based cream cheese; to beautiful cakes, and tips on how to decorate them.  it's a lovely book for those who love to bake, or someone who is new to gluten-and-dairy-free baking.

love & cake.  xo!  

**all non-cake photos by: kisha bari


Double Chocolate Caramel Cake | gf & df

chocolate cake and dark chocolate fudge frosting recipe from Sweet Laurel, by Laurel Gallucci & Claire Thomas

| make a two 6-inch layers |

dark chocolate fudge frosting


  • 4 pounces 100% cacao unsweetened baking chocolate, roughly chopped
  •  1/4 cup coconut oil, solid
  • 1/4 cup maple syrup
  • 1/2 cup almond butter
  • 1/4 cup almond milk or full-fall coconut milk, or as needed

cake

  • coconut nut oil, for greasing the pans
  • 2 1/2 cups almond flour
  • 1/4 cup 100% unsweetened cacao powder
  • 1 teaspoon baking powder
  • 1/2 teaspoon himalayan pink salt
  • 2 large eggs
  • 3/4 cup maple syrup
  • 1 tablespoon vanilla extract
  • 1 cup dark chocolate fudge frosting (ingredients below)
  • 1 cup caramel sauce (ingredients below)

caramel sauce (recipe from Pinch of Yum)

  • 1/4 cup coconut oil
  • 1/4 cup maple syrup
  • 2 tablespoons almond butter
  • pinch of sea salt


method

  1. make the frosting.  in a small heavy saucepan over medium heat, melt the chocolate and coconut oil, stirring constantly.  remove the pan from the heat.  slowly add the maple syrup and stir to incorporate.  allow to cool completely.
  2. transfer the chocolate mixture to a medium bowl and, using an electric mixer, beat in the almond butter until a thick frosting forms.  add the almond milk and stir with a spatula until smooth.
  3. refrigerate for at least 8 hours, then bring to room temperature and beat with an electric mixer until spreadable. 
  4. make the cake.  preheat oven to 350°F.  line two 6-inch cake pans with parchment paper rounds, then grease the sides of the pans with coconut oil.
  5. in a medium bowl, whisk together the flour cacao powder, baking soda, and salt.  in a large bowl, whisk the eggs, maple syrup, and vanilla.  a little at a time, add the dry ingredients to the wet, stirring until a batter forms.
  6. divide the batter evenly between the prepared pans and bake for about 25 minutes, or until a toothpick inserted into the center comes out clean.  invert the cakes onto racks, and allow to cool completely (*my note: i let the cake cool in the pan on a rack, then inverted them onto a rack to then cool completely).
  7. place one layer on a cake plate and top with 1/2 cup of the fudge frosting, smoothing it evenly over the entire surface.  drizzle a few tablespoons of the caramel on top.  add the second layer and top with the remaining 1/2 cup of frosting, then drizzle more caramel over the cake, letting it drip down the sides. 
  8. refrigerate until ready to serve.  take out 20-30 minutes prior to serving.  decorate with fresh blooms, sprinkles, herbs, herbs flowers, etc.!

similar recipes: 


chocolate layer cake w/ cacao macadamia mousse & coconut whip

chocolate layer cake w/ cacao macadamia mousse & coconut whip

strawberry-rhubarb olive oil cake w/ chocolate whip

strawberry-rhubarb olive oil cake w/ chocolate whip

hazelnut layer cake w/ fig compote

hazelnut layer cake w/ fig compote